Serial Numbers in Microsoft Dynamics NAV 2015
Hello again and welcome to The Coffee Mug Tutorials. Today is Halloween so we have a Halloween special. What we decided to do is carry a specific Halloween coffee mug. So what we need to do is create a new item for this. It is also a serialized item; it’s a collector’s item.
Create an Item
Each mug is numbered and so that increases the value of the mug. So let’s go ahead and create an item for this mug. We go into Items like usual.
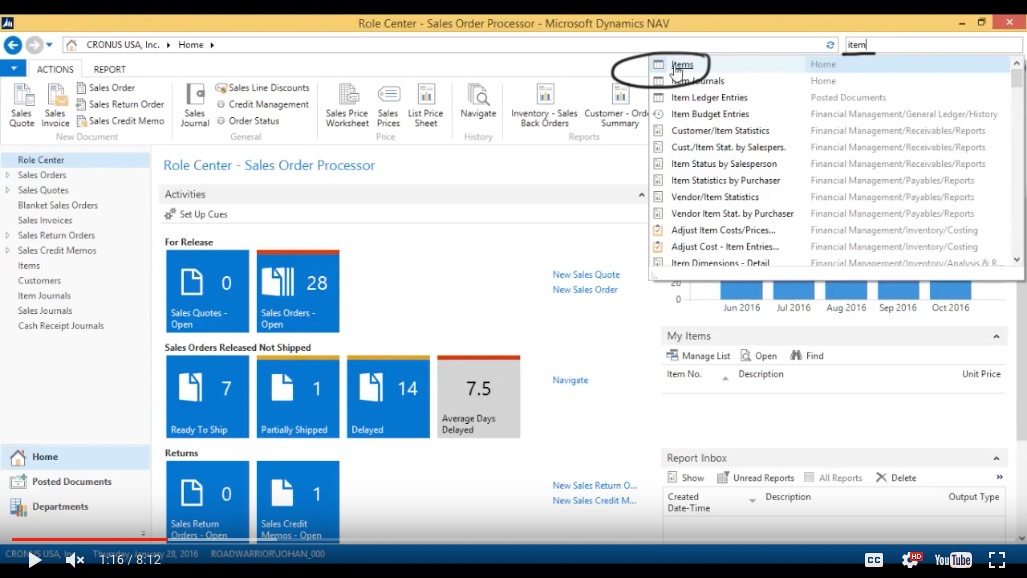
(Click image to view larger version)
Hit New.
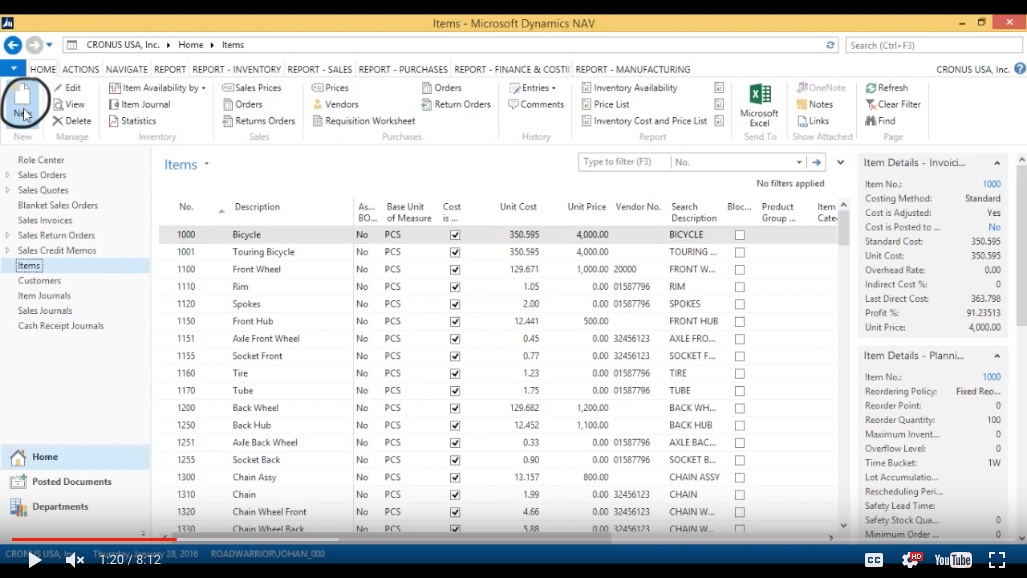
(Click image to view larger version)
Enter and the Description as Halloween Coffee Mug.
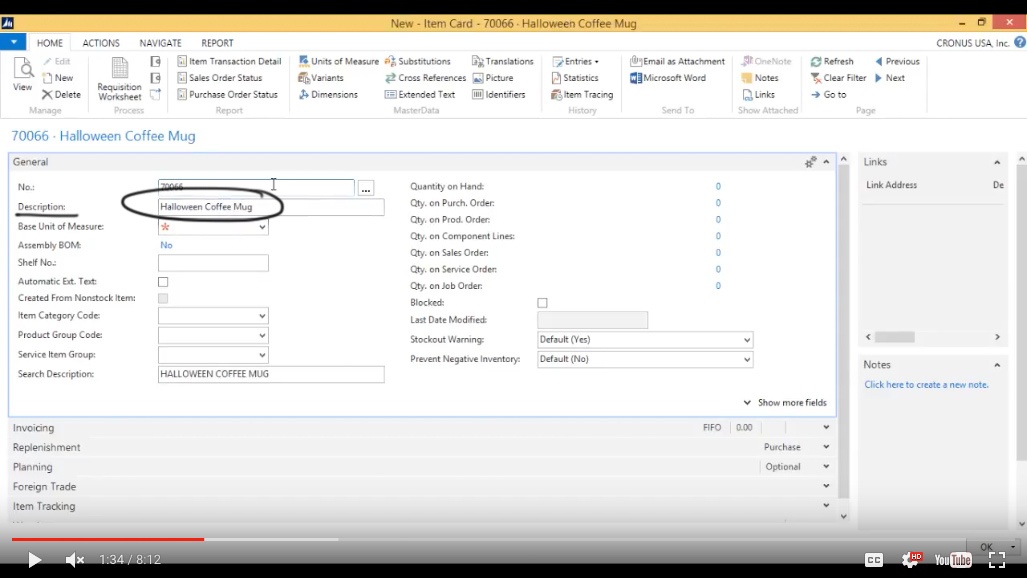
(Click image to view larger version)
It’s going to be sold in Pieces and Miscellaneous again.
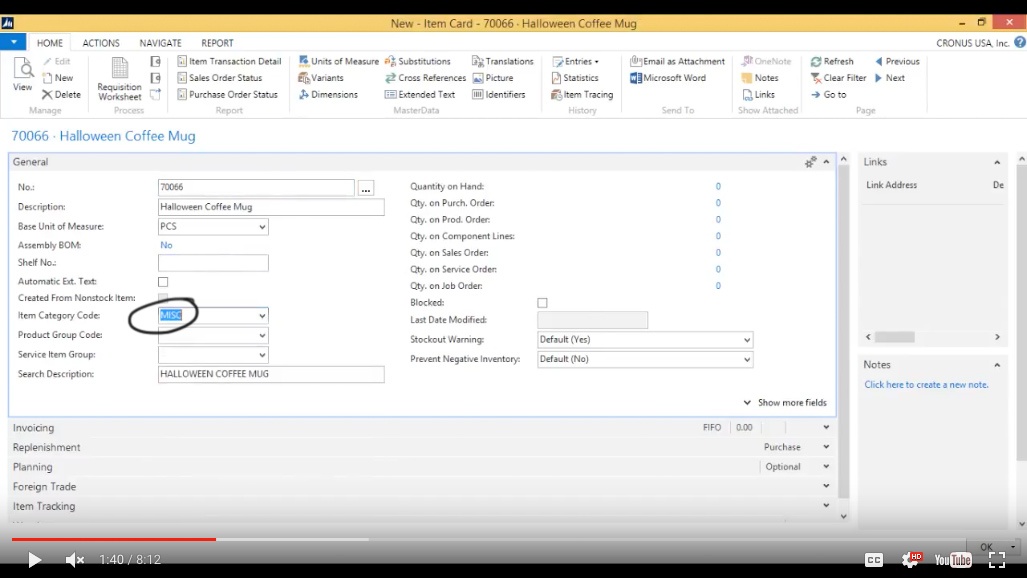
(Click image to view larger version)
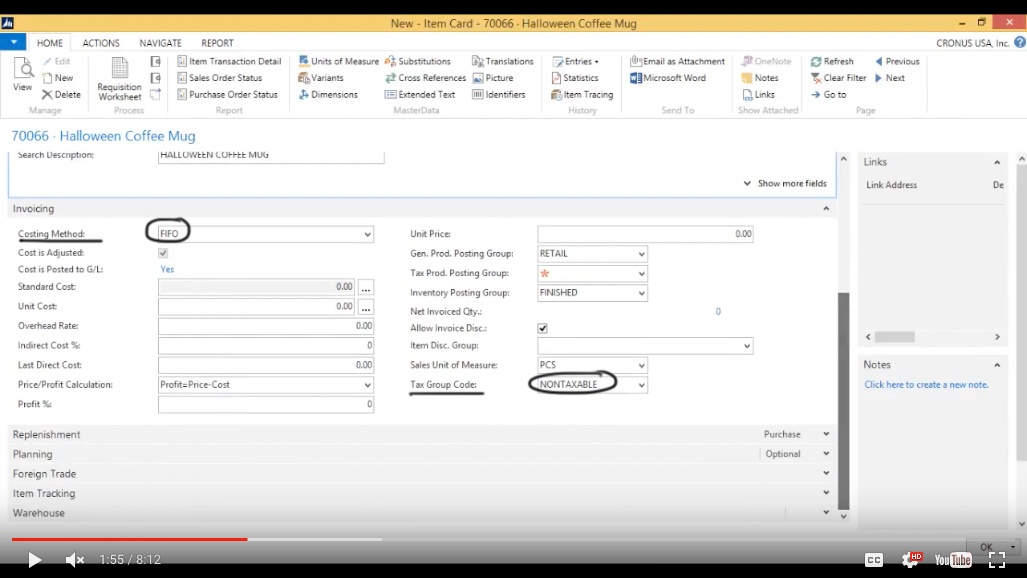
We probably soon will get our own item category code, get that later. I’m going to have this as FIFO, Tax Group is Nontaxable; we are still non-taxable in our demo.
(Click image to view larger version)
Serial Number Tracking
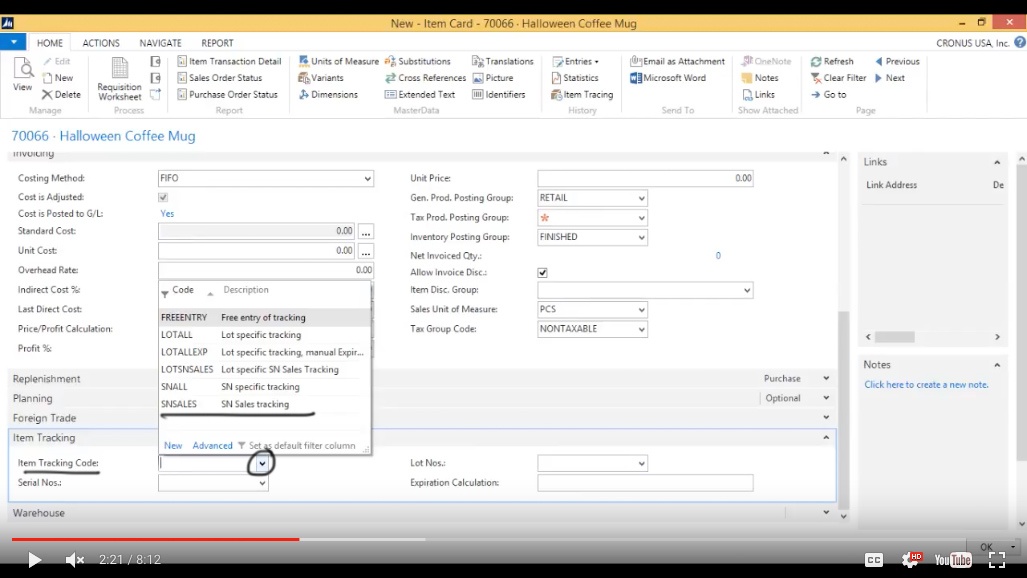
And in the tracking we had covered Lot Tracking, what we want to do now is actually Serial Tracking.
Now we only want to track the serial on the sales side. So we don’t really care when it’s coming in what number it is, but when it goes out we want to know which number went to what customer so that they can come back and reference the number. So I put sales serial number and I’m going to manually trigger that in. Because when we’re selling the coffee mug we’re going to scan the serial number, so I’m not going to have the system automatically generate it.
(Click image to view larger version)
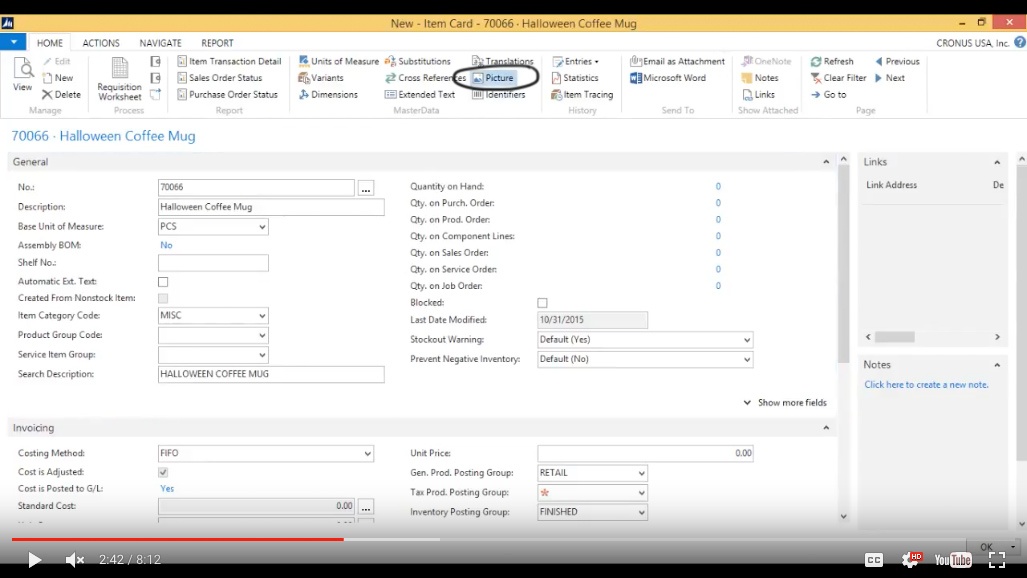
Now we’ve also got a picture of the item so I want to put that onto the item. I hit Picture.
(Click image to view larger version)
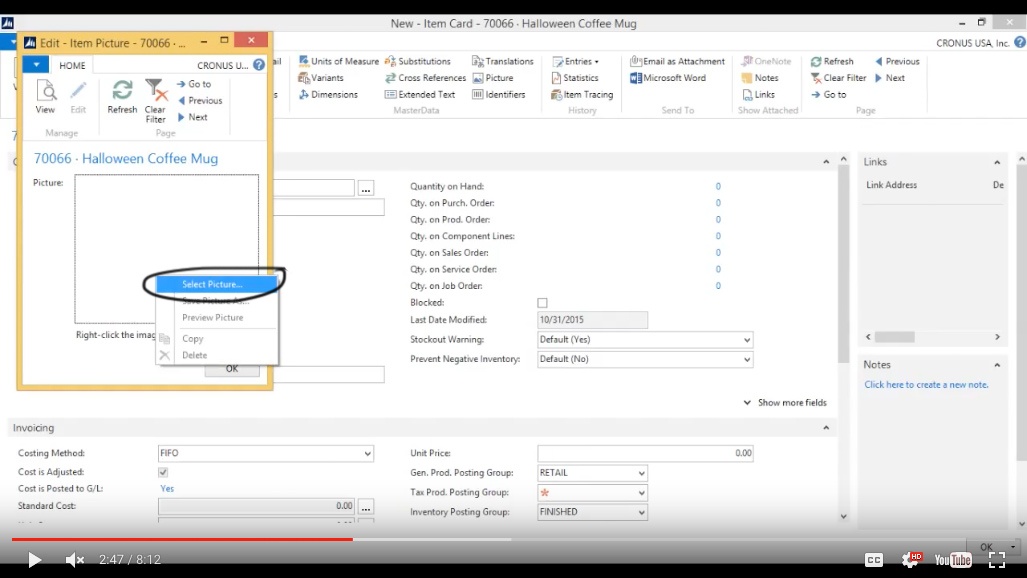
I right click to select the picture.
(Click image to view larger version)
I’ll go to My Pictures and this is how it looks like, very elegant. Ok, good enough. Now I have my item.
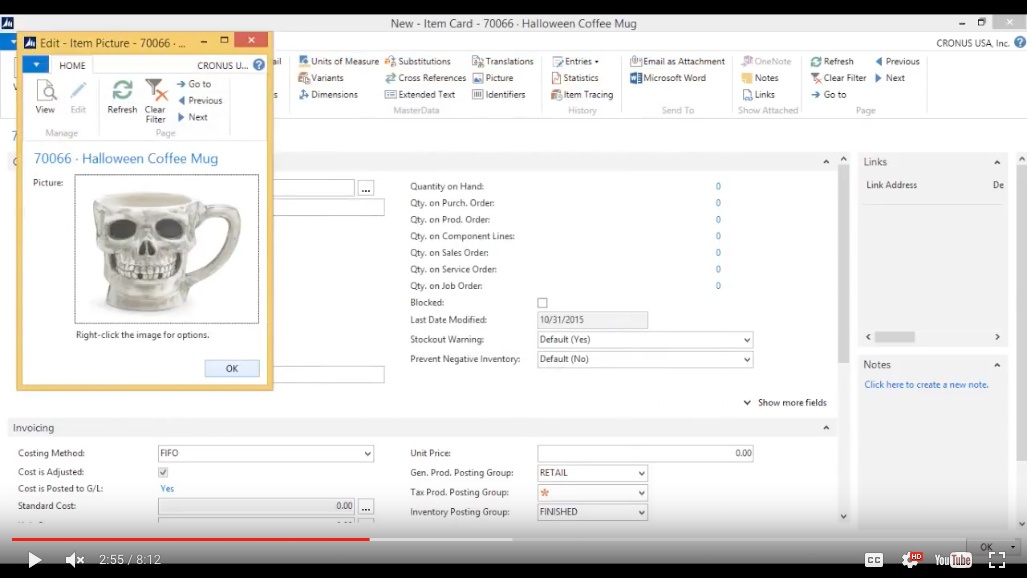
(Click image to view larger version)
Create a Purchase Order
Now I’m going to go and purchase the item, creating a Purchase Order.
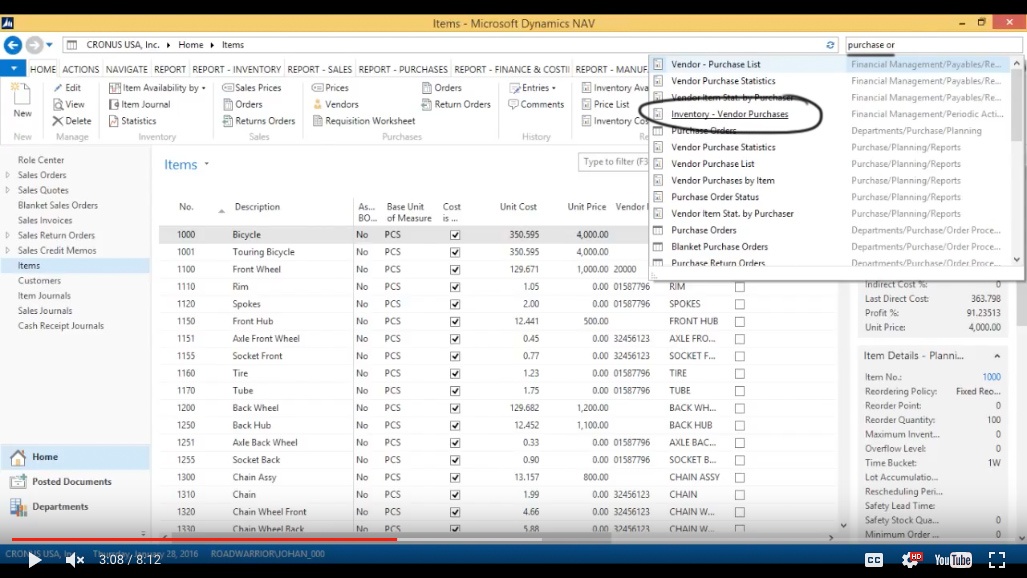
(Click image to view larger version)
We are going to get it from, let me see, it was Custom Metals, it’s a metal cup.
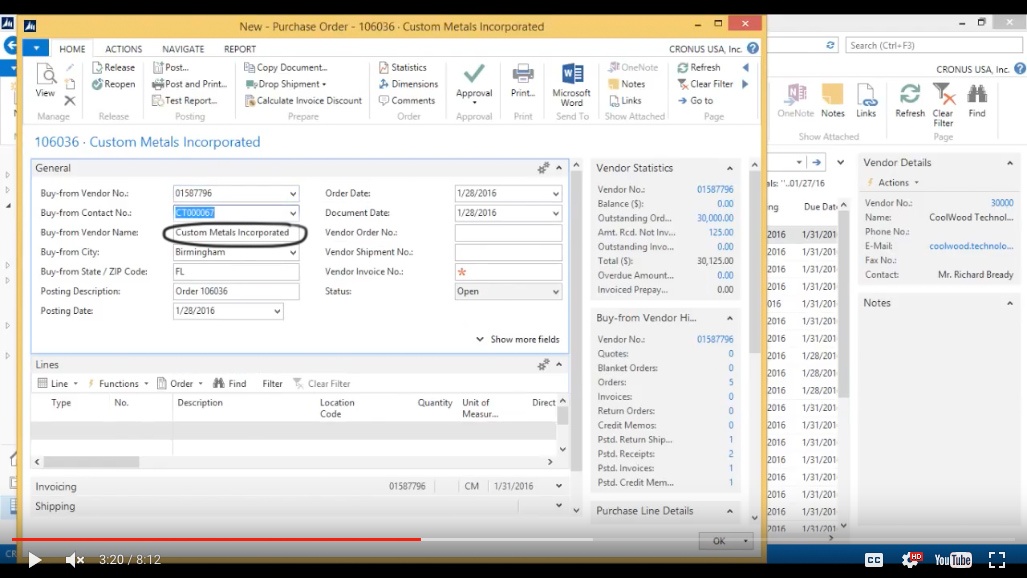
(Click image to view larger version)
Get the item, if I start typing Halloween it brings it up.
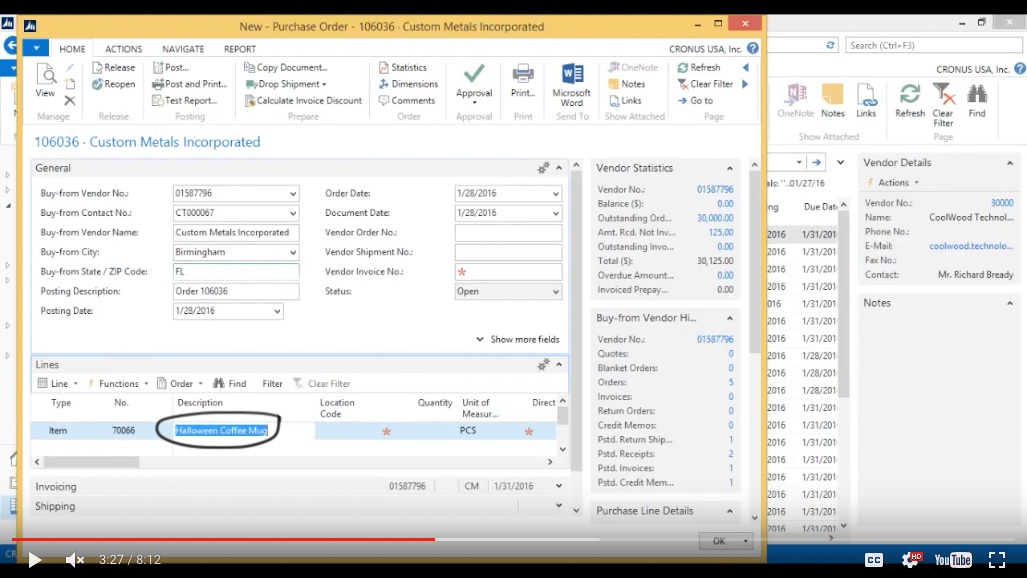
(Click image to view larger version)
Let’s buy it into the Blue location and we’re going to get 1000 pieces; that’s all they are going to make for this Halloween. And each one is costing us $10.
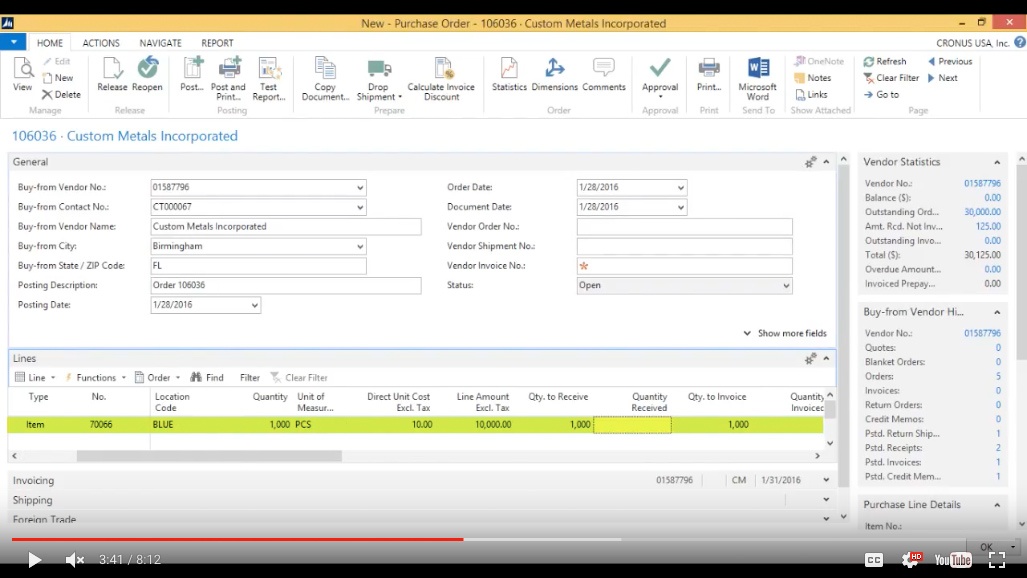
(Click image to view larger version)
They have already sent us the invoice and we received the inventory. The invoice was I334499 and we just hit Post.
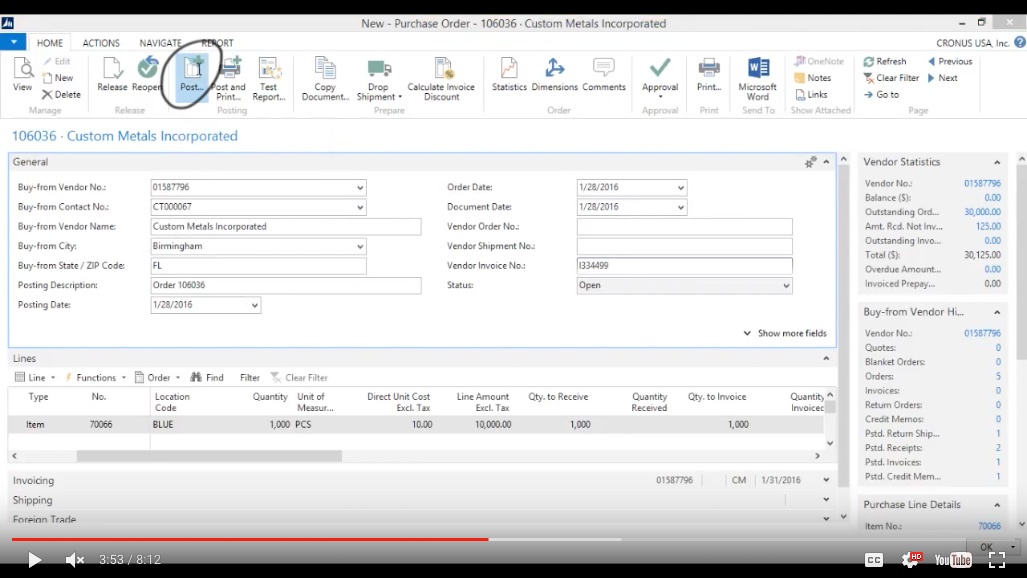
(Click image to view larger version)
Receive and Invoice. Now we have the Halloween Coffee Mugs. Notice that it didn’t ask for serial numbers because I only wanted it on the Outbound.
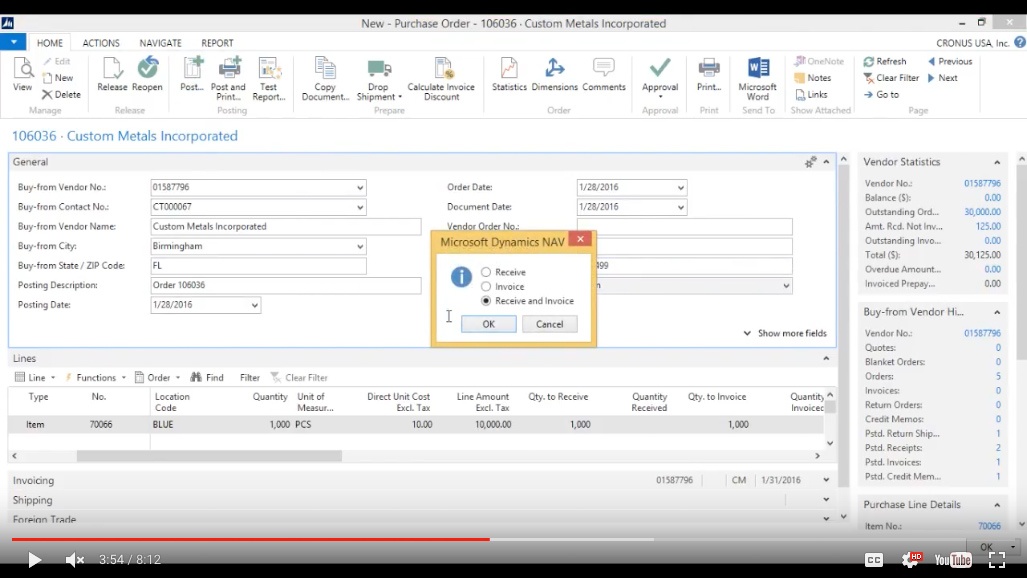
(Click image to view larger version)
Create the Sales Order
Let me go back into the Sales Order.
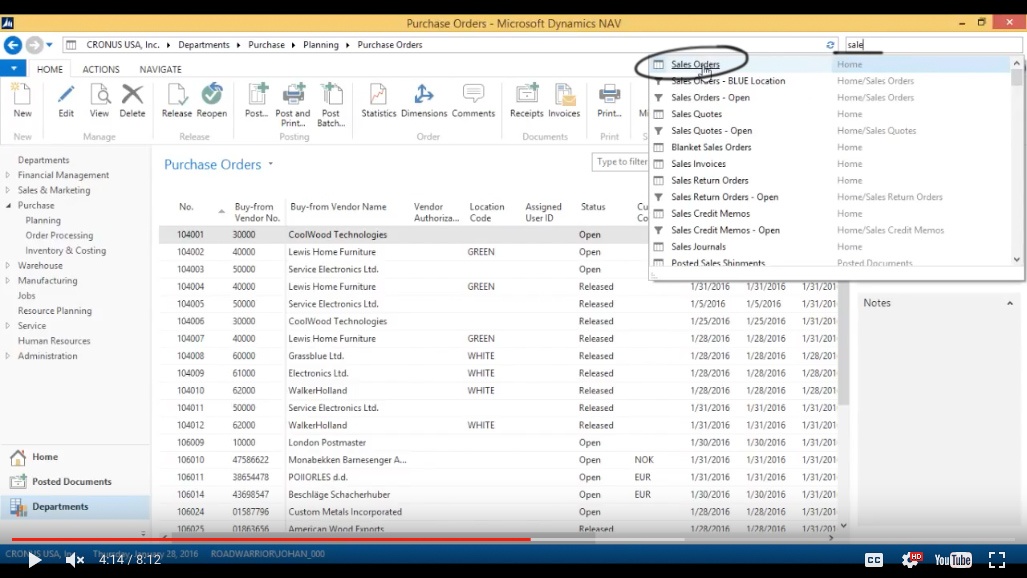
(Click image to view larger version)
Create a new one.
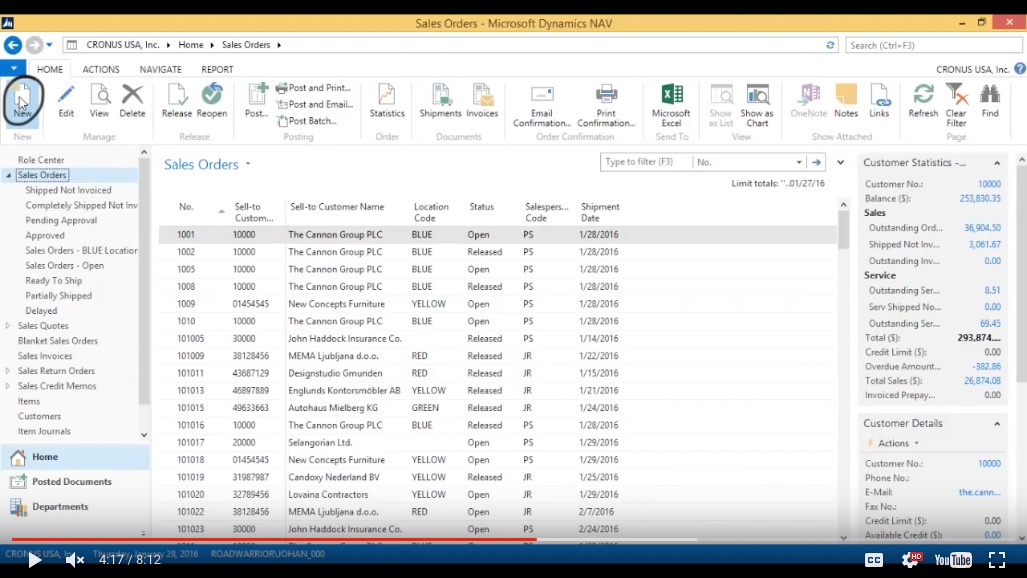
(Click image to view larger version)
We immediately get a Sales Order from The Cannon Group which is a very good customer and we issue a Sales Order for The Cannon Group for the Halloween Coffee Mugs.
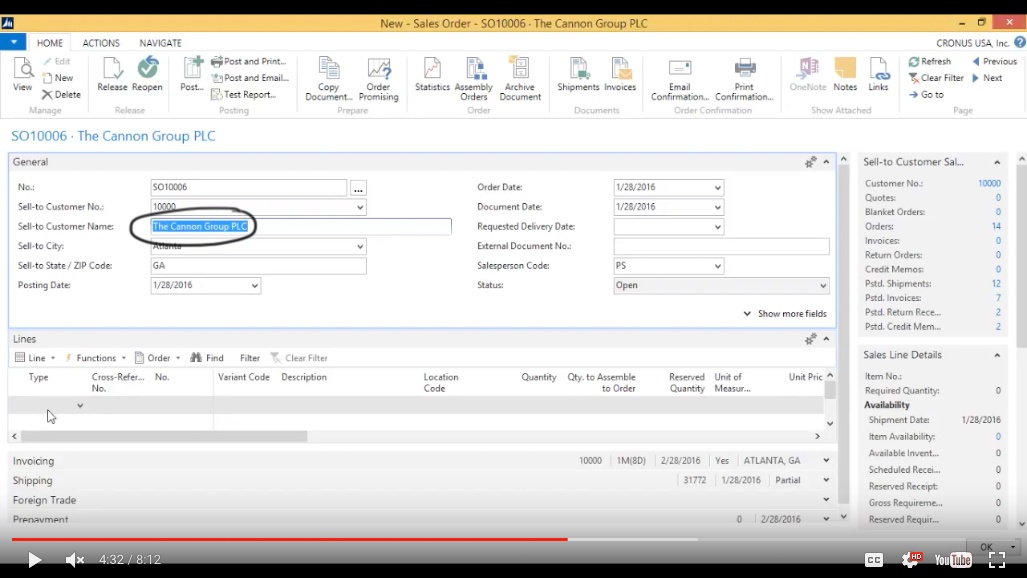
(Click image to view larger version)
So I go here into Type: Item, Halloween Coffee Mug, Quantity is 10.
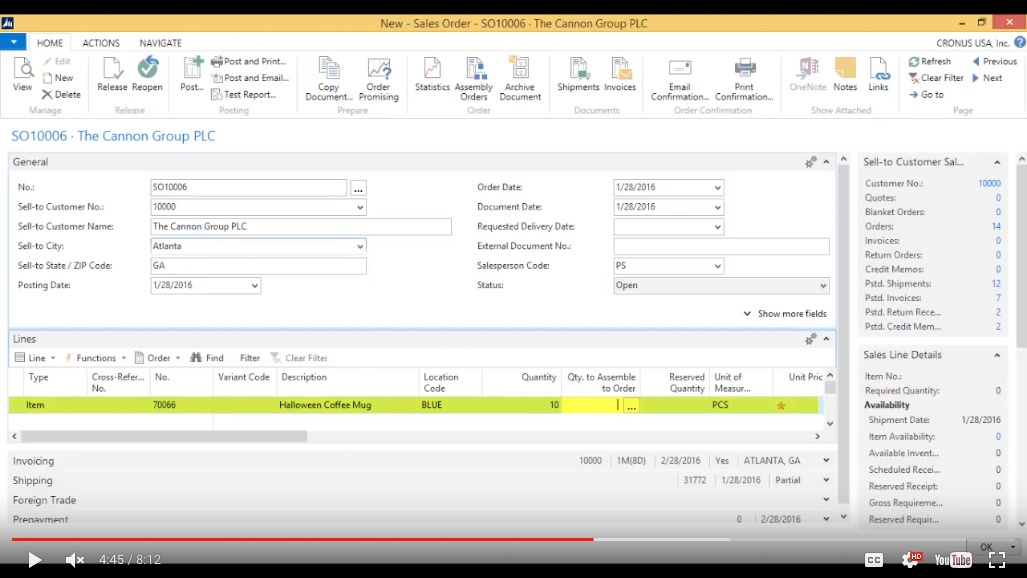
(Click image to view larger version)
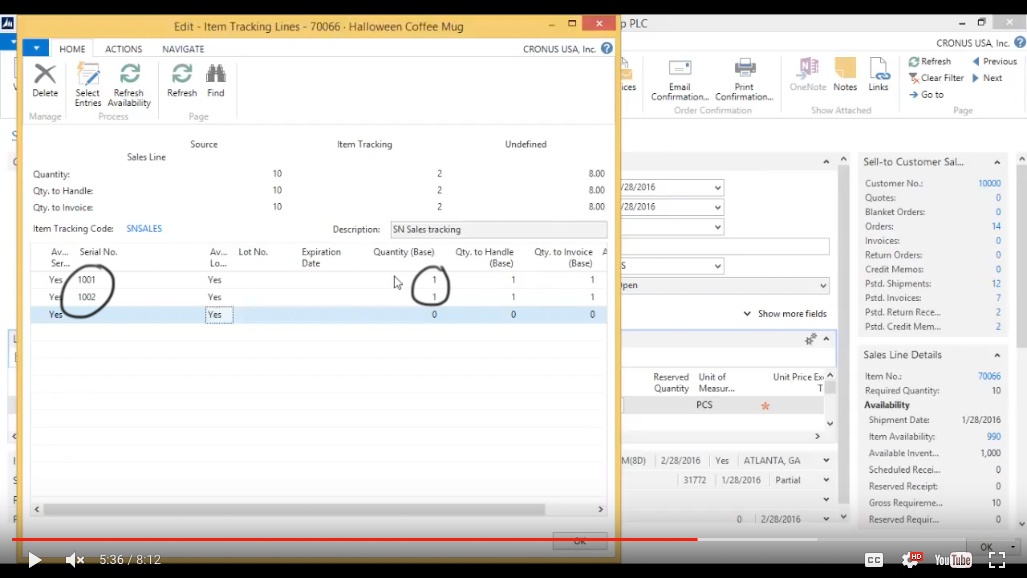
So now if I try to post this it’s going to ask me for serial numbers so I’ll just going to go ahead and put them in right away. I go here into Line and Line is specific to the Line that I’m in and I go into the Item: Tracking Lines, similar to the Lots that we did before but in this case we are doing Serial Numbers.
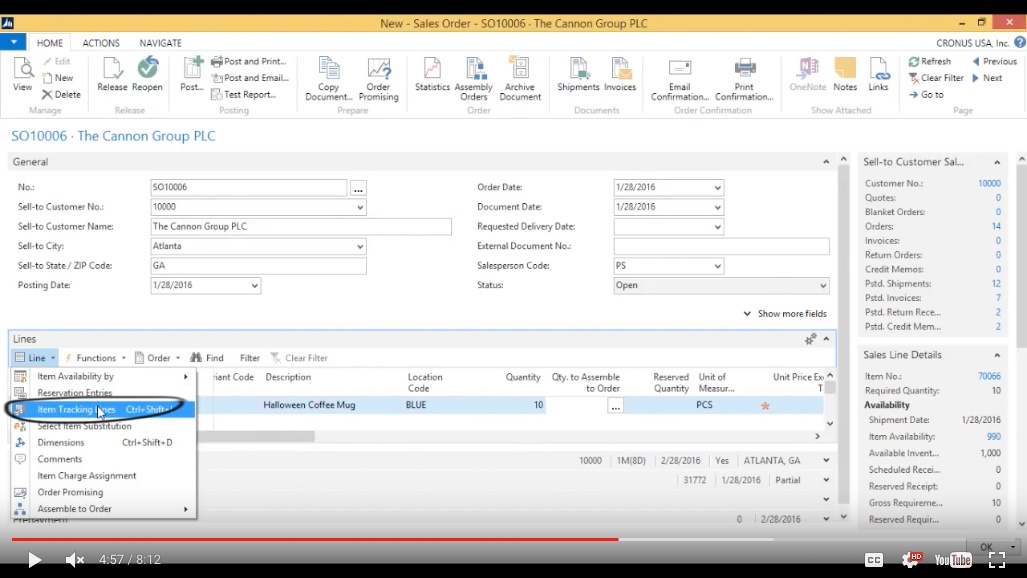
(Click image to view larger version)
I go in here and I start putting in my serial numbers. It’s actually 1001 and 1002 and quantity has to be 1 because serial number identifies a single piece.
(Click image to view larger version)
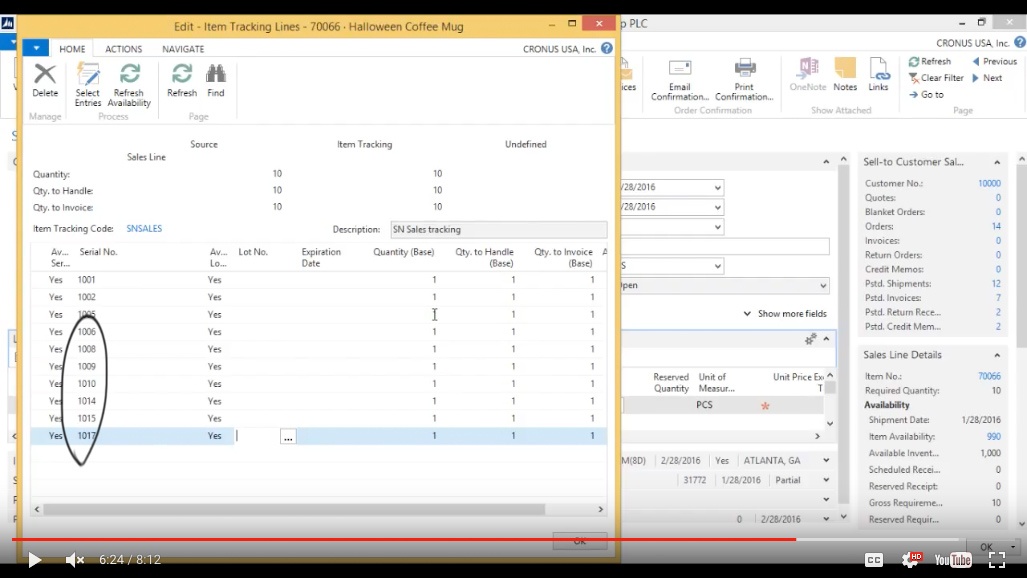
And then there was 1005 – they weren’t scanning in order. I add 1006, 1008, 1009, 1010, 1014, 1015, 1017 and done.
(Click image to view larger version)
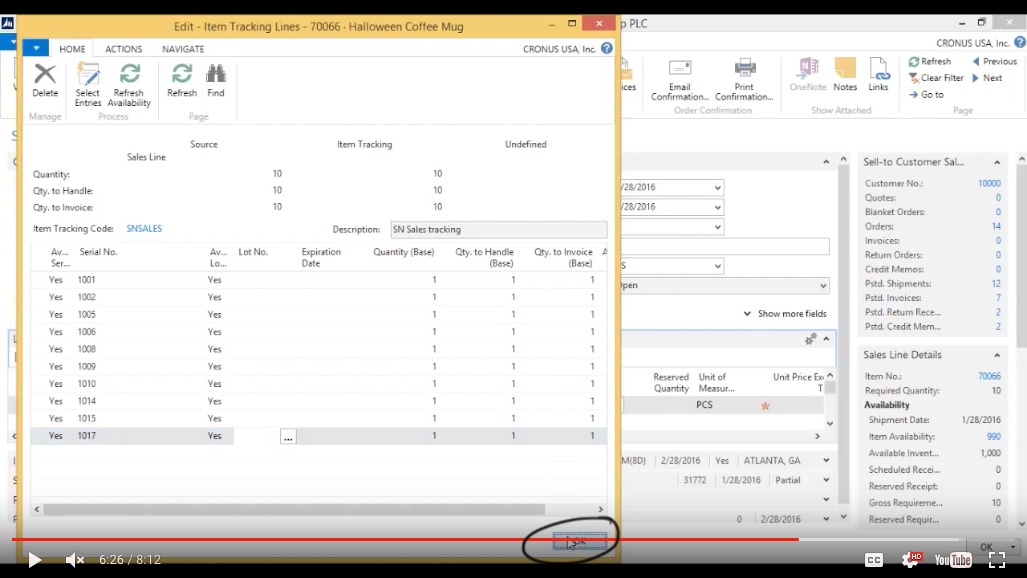
Click OK.
(Click image to view larger version)
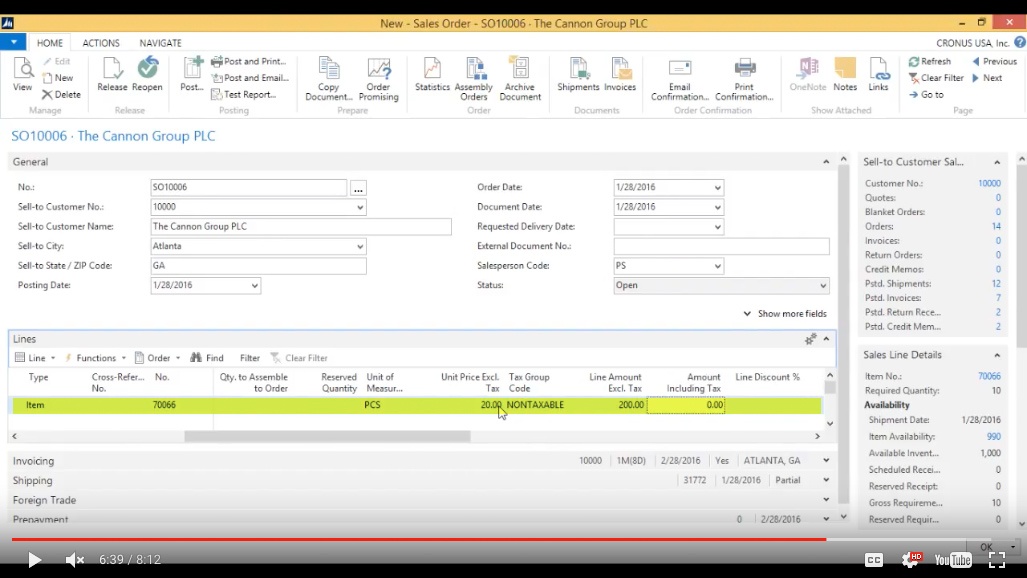
Those are the ten that are going out. Obviously it would be better to scan these in than typing in but if it’s low volume you can type in. The price is going to be $20.
(Click image to view larger version)
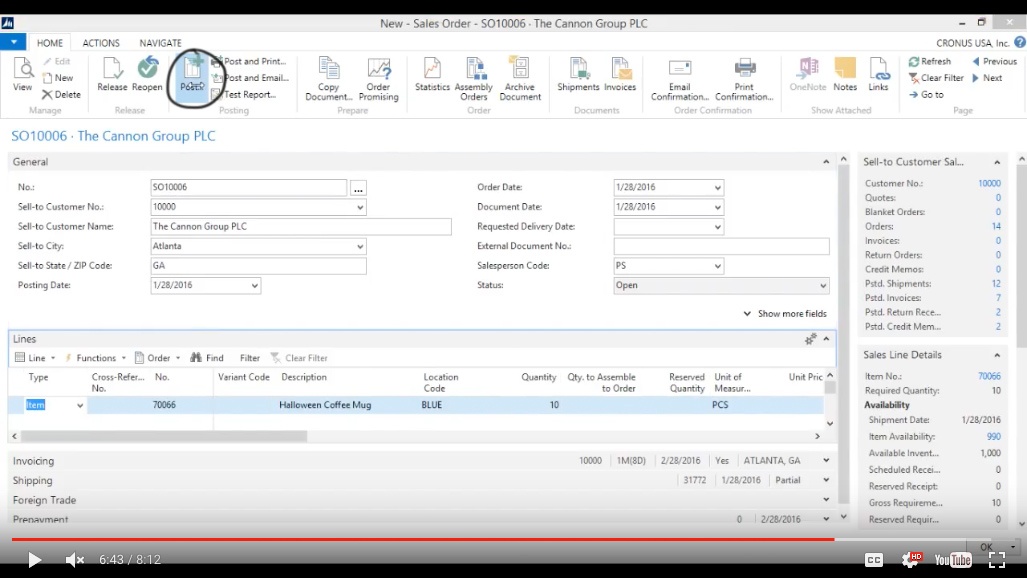
Now I go ahead and Post.
(Click image to view larger version)
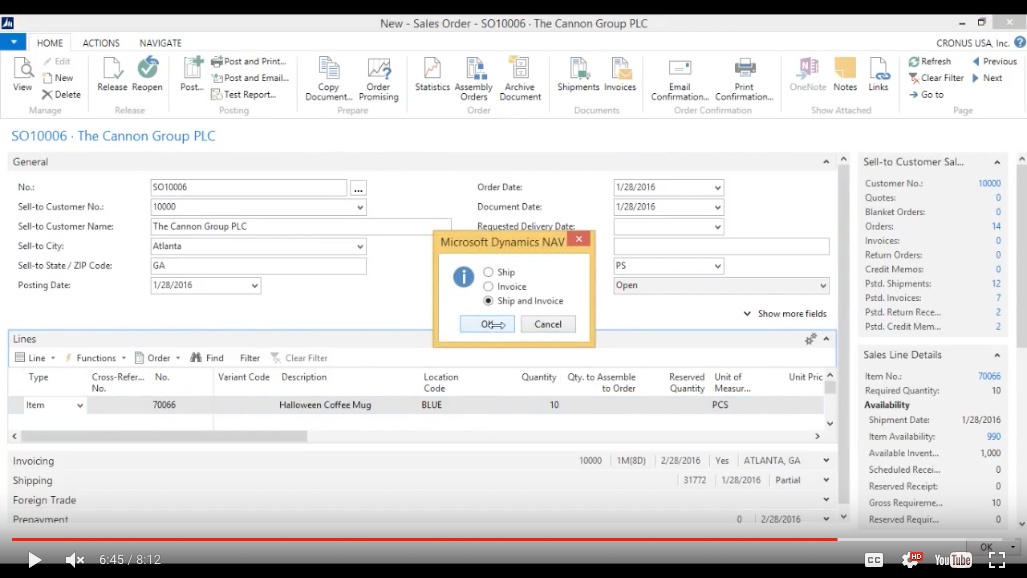
Ship and Invoice. Out the coffee mugs go.
(Click image to view larger version)
Review your Item Entries
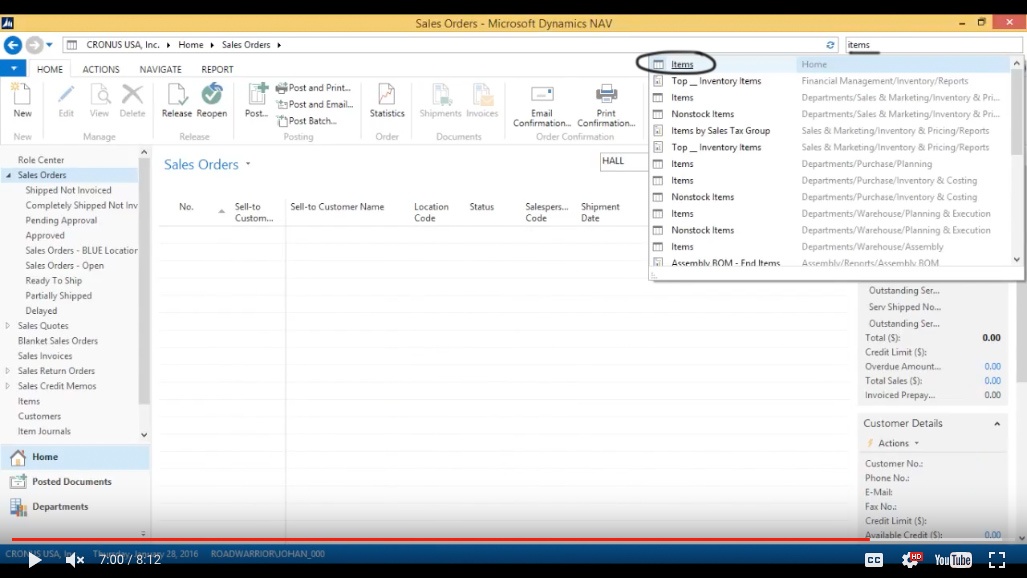
And if I now look at the Halloween Coffee Mug, by going to the Item.
(Click image to view larger version)
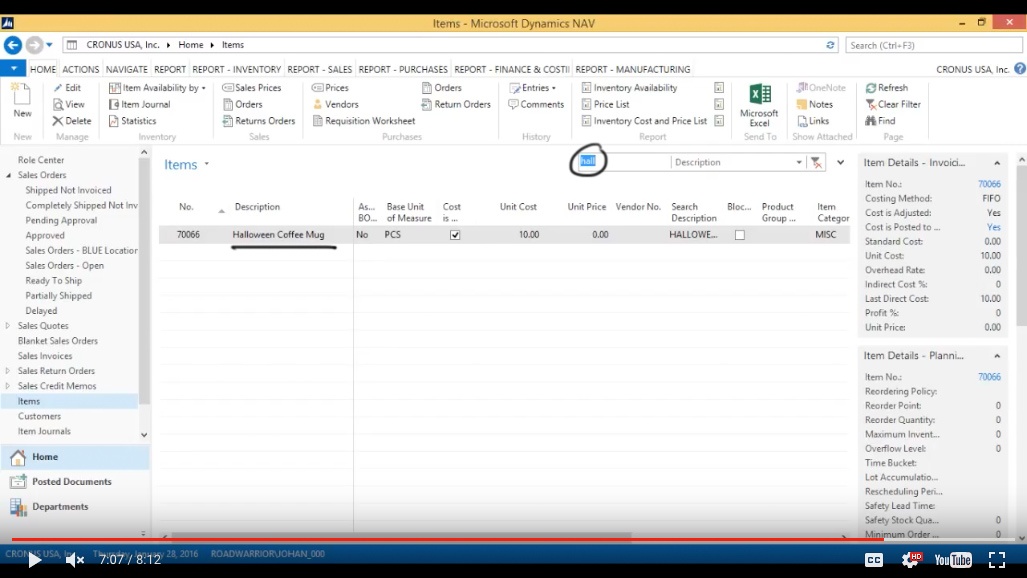
Search Item Description Halloween Coffee Mug.
(Click image to view larger version)
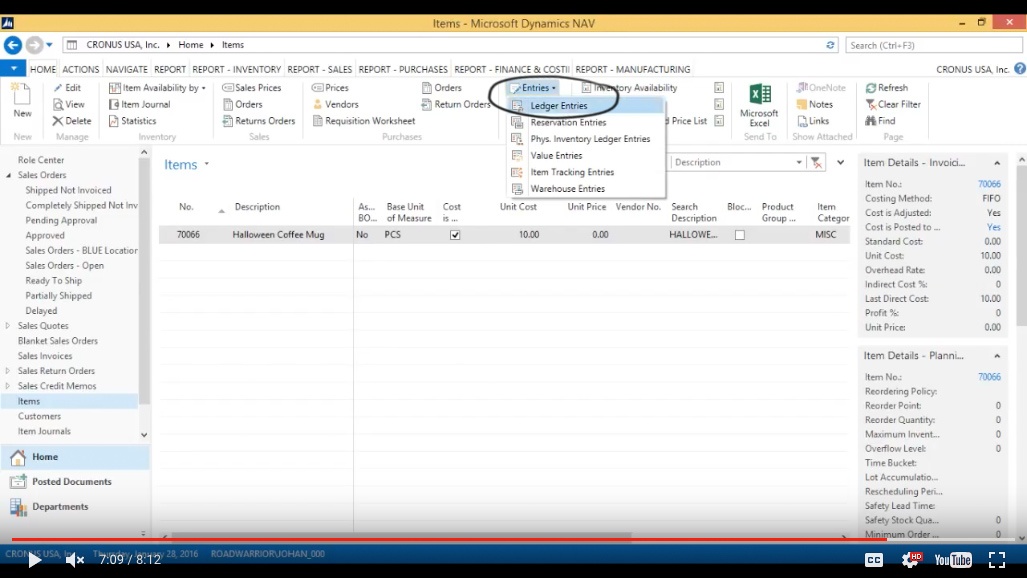
Go to my Entries.
(Click image to view larger version)
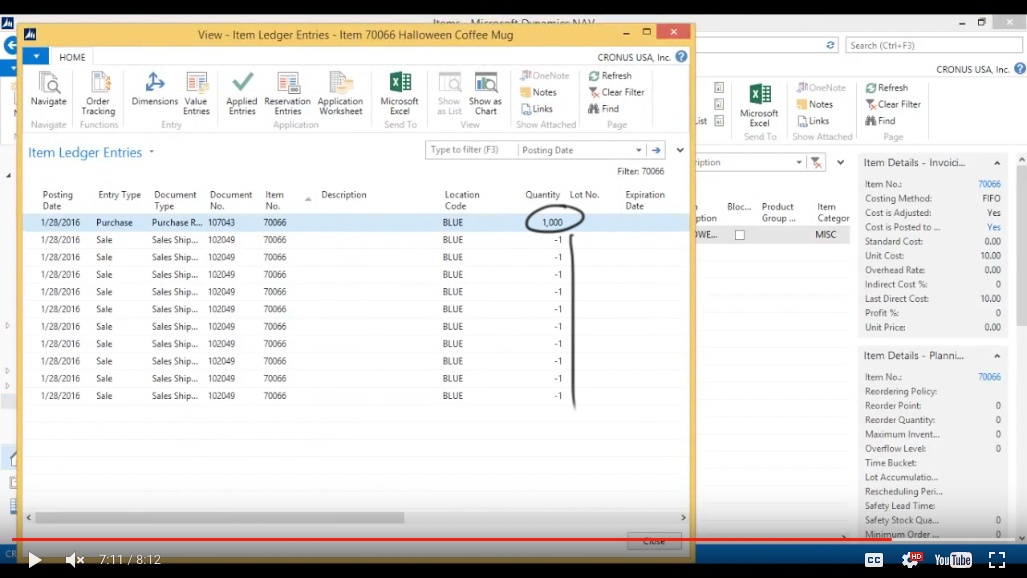
I can see that I have 1000 coming in but onesies going out.
(Click image to view larger version)
Show the columns
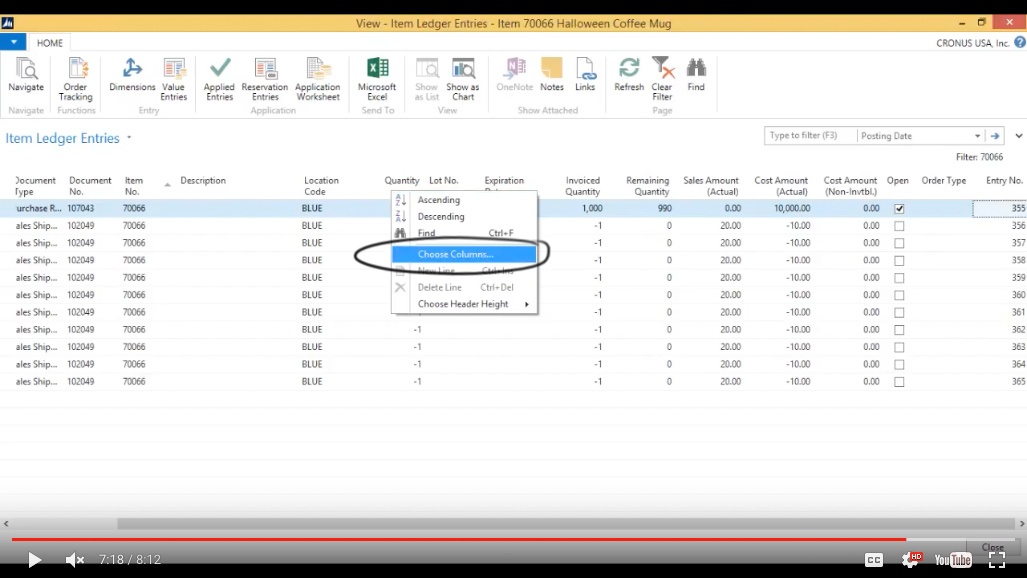
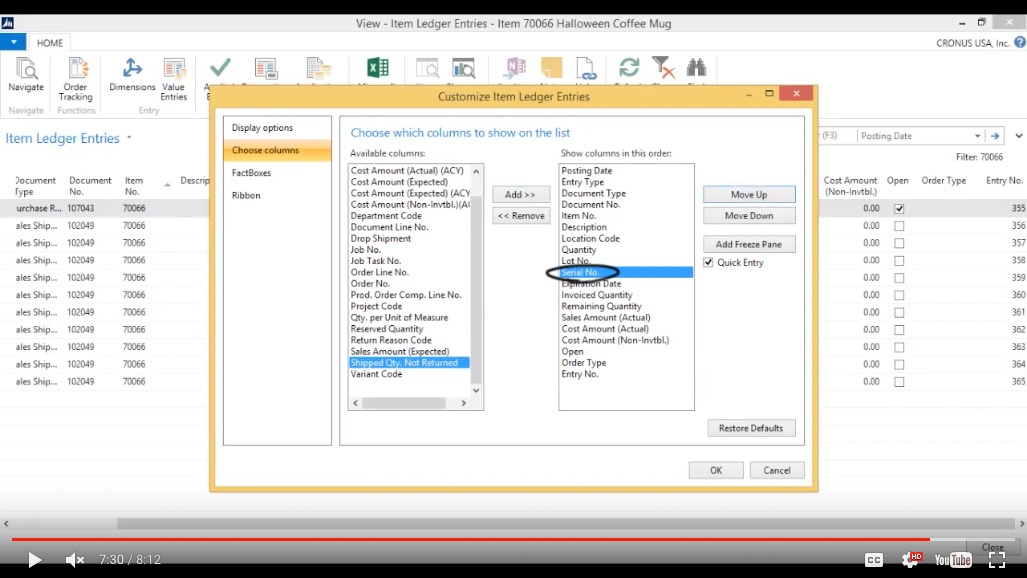
Choose Columns.
(Click image to view larger version)
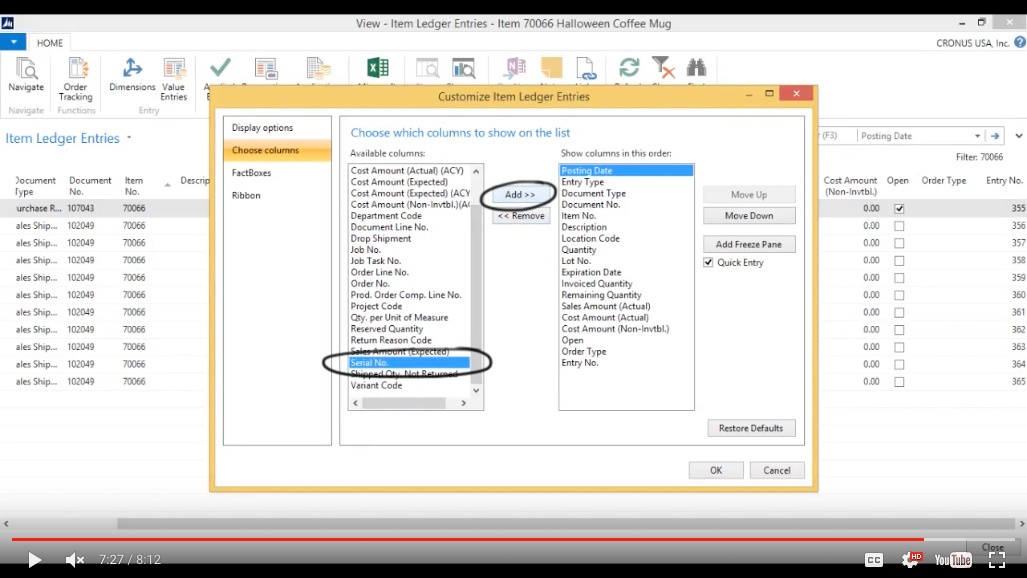
I can add the Serial Number column.
(Click image to view larger version)
Put that here right next to the Lot Number.
(Click image to view larger version)
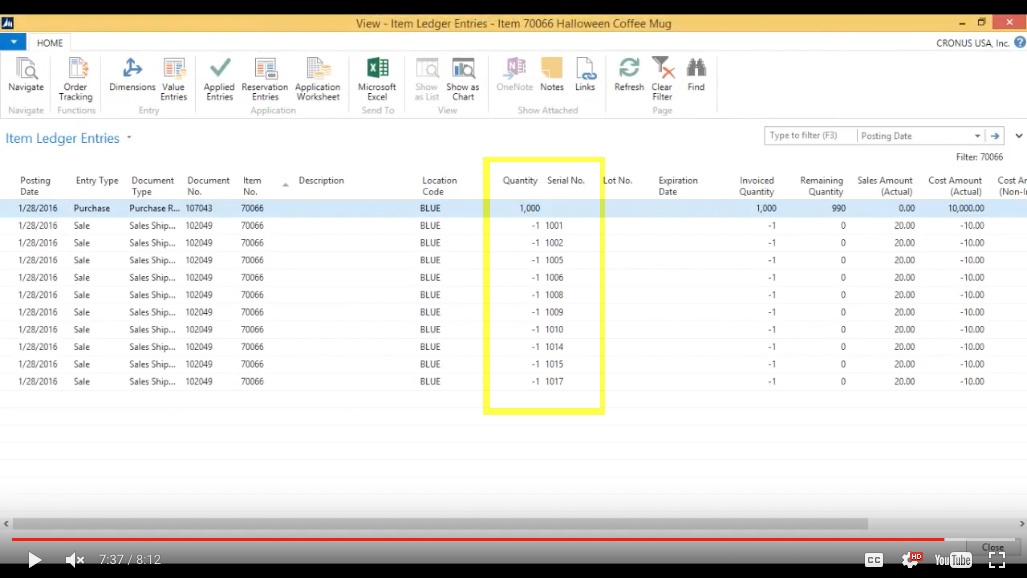
You can now see all the serial numbers going out.
(Click image to view larger version)
Now cost isolation will not be on the serial number because it’s not on the Inbound but it does track the serials out. And that was it for the Halloween Special of the Coffee Mug Tutorials for the Halloween Coffee Mug that’s serialized.
You've learned some of the many ways your business can benefit from using inecta Food. It's trusted by other businesses in your industry and can work just as well (or better) for you. inecta Food is easy to implement. It's easy on your budget with monthly subscription payments. Take the next step to ensure your food business is running the right kind of business software. Software for your food safety, increased efficiency, and stronger revenue growth.
Curious about implementation costs, training, getting a customized demo & detailed estimate, booking a discovery call?

Global Headquarters:
225 Broadway #660,
New York, NY 10007
1-800-632-0573
©2023 INECTA LLC
Global Headquarters: 179 Franklin Street, New York, NY 10013
©2020 INECTA LLC